Pihole + Zerotier + ZeroNSD
Purpose: To have Zerotier act as VPN when we go outside and still able to visit home network with its dns name server resolved.
- Setup Pihole on VM
- Setup Zerotier on VM
- Setup ZeroNSD on VM
Notes:
Zerotier Installation and Settings:
Tutorial: https://www.youtube.com/watch?v=1pTsgWNae88
Portainer Docker Compose Yaml:
version: "3"

volumes:
  ztncui:
  zt1:

services:
  ztncui:
    image: keynetworks/ztncui
    container_name: ztncui
    environment:
      - USER_UID=998 #adjust to your system
      - USER_GID=100 #adjust to your system
      - NODE_ENV=production
      - HTTPS_PORT=3443
      - ZTNCUI_PASSWD=[YOURPASSWORD]  #change this
      - MYDOMAIN=[YOUR.DOMAIN.NAME/SUBDOMAIN.DOMAIN.NAME] #change this to the domain you want to use for the controller
      - MYADDR=[YOUR.PUBLIC.IP.HERE] #this is optional. if you use it, this is the public IP your ISP gave you
    volumes:
      - ztncui:/opt/key-networks/ztncui/etc
      - zt1:/var/lib/zerotier-one
    ports:
      - 3443:3443 #dashboard port
      - 3180:3180
Easy setting up new network address: 192.168.2.0/24 subset
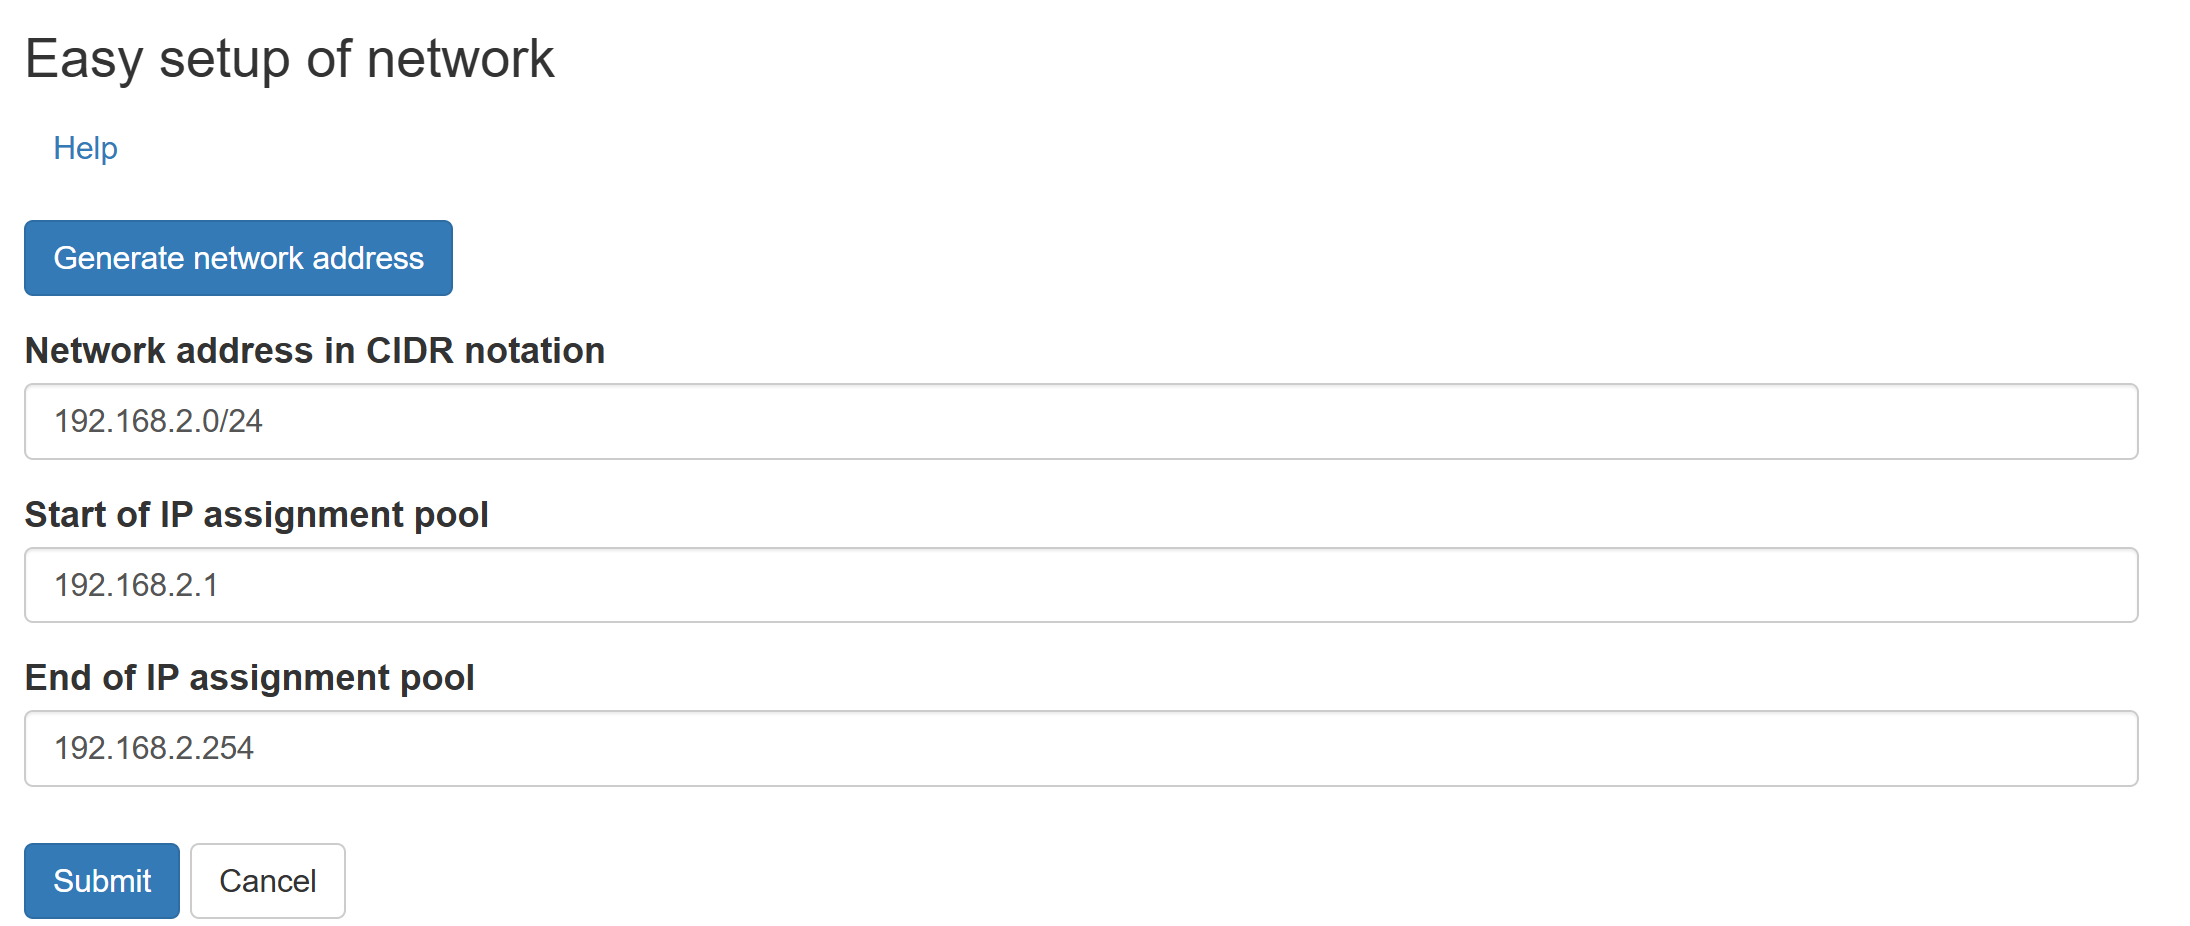
Pihole Settings:
When install New instance of Pihole, you need to config DNS > Interfaces Settings > Permit all origins [X] checked
Turn of dhcp.
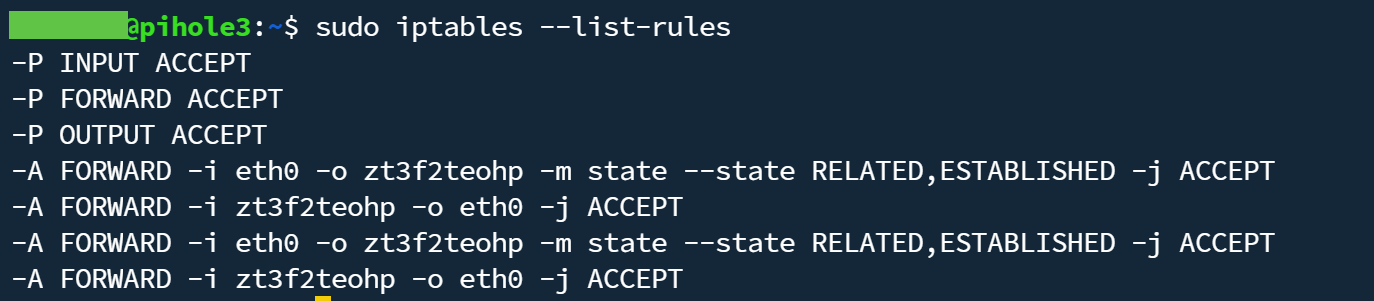
Next, you will need to route between pihole eth0 and zerotier interfaces:
PHY_IFACE=eth0; ZT_IFACE=zt3f2teohp

sudo iptables -t nat -A POSTROUTING -o eth0 -j MASQUERADE
sudo iptables -A FORWARD -i eth0 -o zt3f2teohp -m state --state RELATED,ESTABLISHED -j ACCEPT
sudo iptables -A FORWARD -i zt3f2teohp -o eth0 -j ACCEPT
Go to your zerotier network :
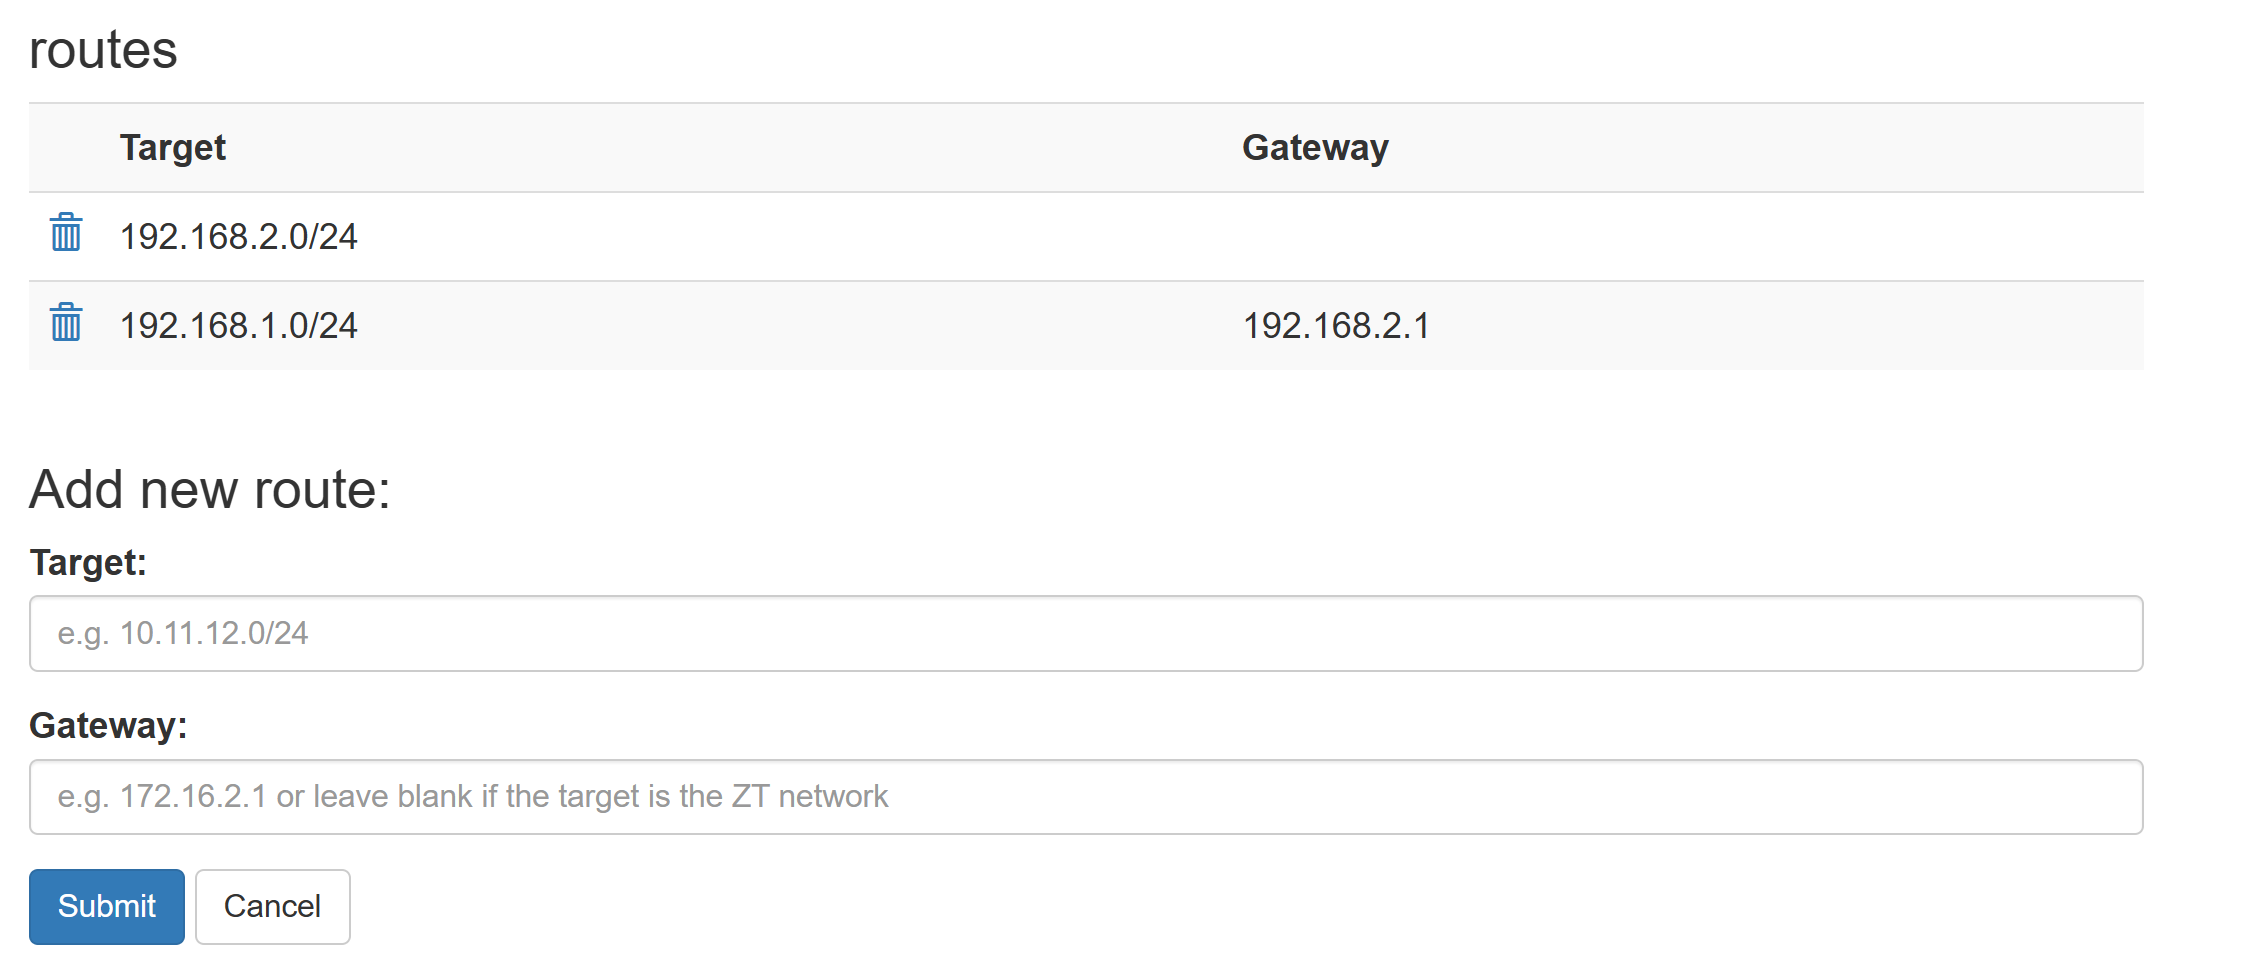
192.168.2.0/24 is Zerotier Subnet
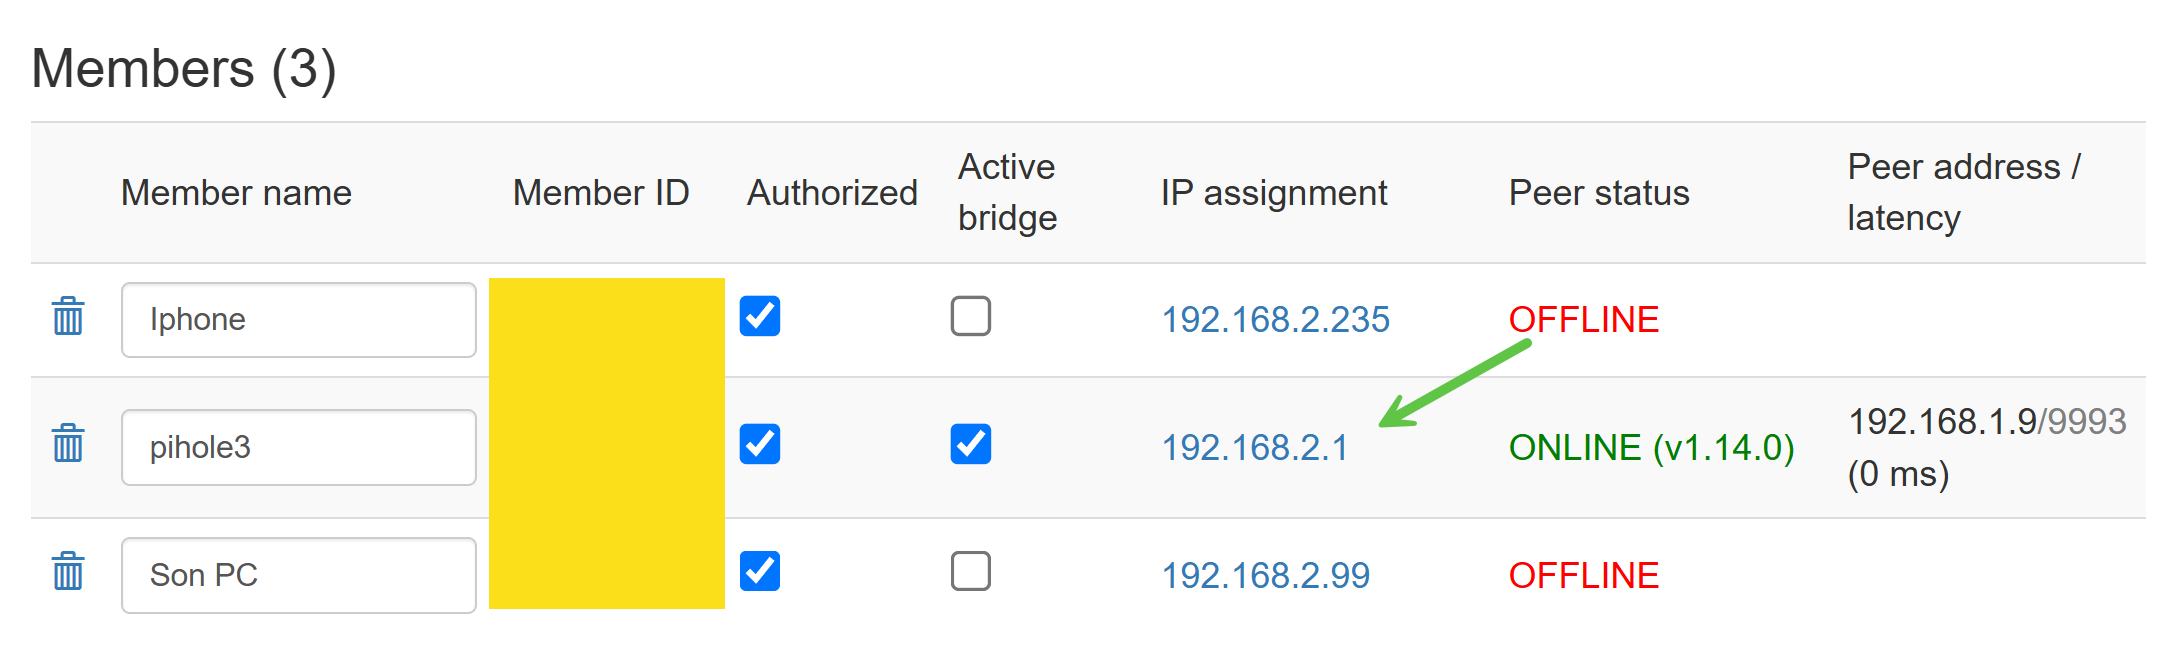
192.168.1.0/24 is Your local subnet that point to gateway of Pihole IP which is (192.168.2.1). Make sure when you install zerotier client on linux , please re-assign the ip address is 192.168.2.1 which is easier to remember.
result:
Change your DNS to pihole zerotier ip:
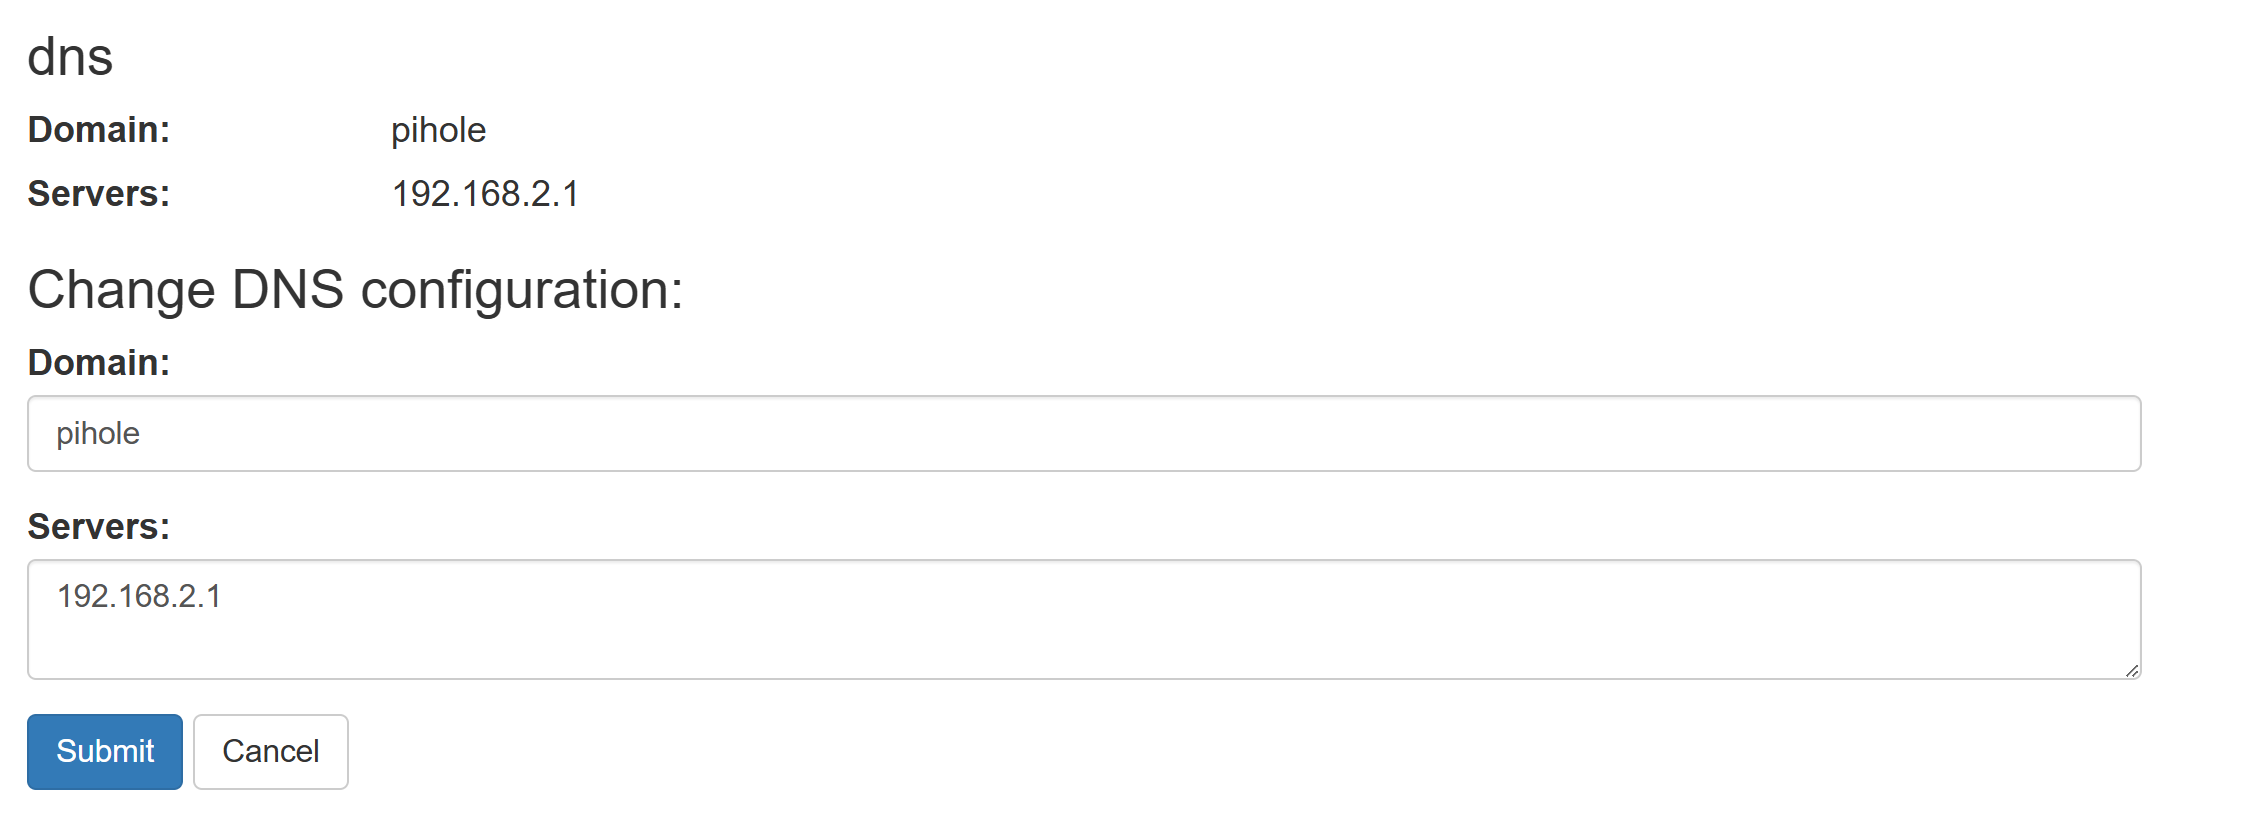
From now on, when you access from your phone with zerotier vpn , you will be able to visit ip address on your lan network.
No comments to display
No comments to display